
✨ 1. Key Benefits at a Glance
- Customisable Design: Adjust the appearance of your widget to align with your brand identity by modifying colours, fonts, and backgrounds.
- Flexible Grouping: Easily select and reorder activity types to highlight the most relevant offerings for your customers.
- Multiple Custom Widgets: Create multiple widgets for your different marketing strategies, providing tailored experiences.
- Combined View for Multi-Venue Studios: Option to represent all activities from all of your venues in one place (or keep them separate).
🧑💻 2. How to Set Up Your Activities Widget (Step-by-Step)
- Go to Settings > Widgets [NEW]
In your Eversports Manager. - Click Create new widget
Start the setup process for a new widget. - Select the Activities category
This widget focuses on your special activities and displays them in a clean card-based layout.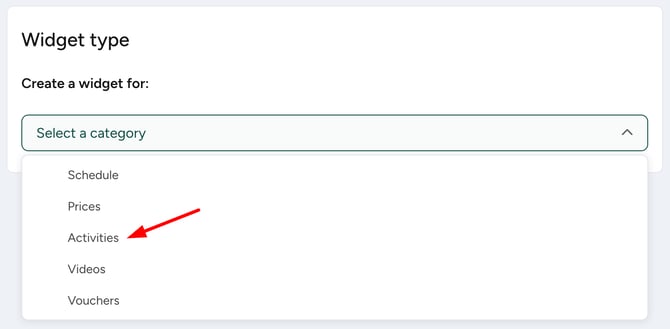
- Name your widget
Choose a name that reflects its focus - for example “Spring Retreats” or “Beginner Yoga Courses”.
This name is only visible internally and helps you identify your widget later.
🏢 3. Select Your Studio(s)
If your business operates across multiple locations, you can choose one or more studios to include in this widget.
This gives you full flexibility:
- Display activities from all locations in one view
- Or create separate widgets per venue
You can create as many widgets as needed, each with its own studio selection.
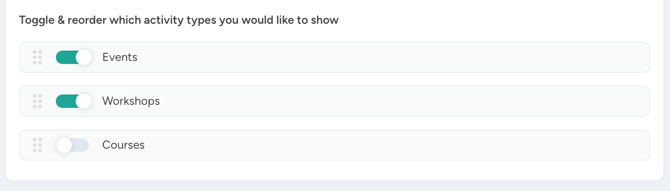
🎯 4. Choose Activity Types to Display
Choose which activity types (e.g. events, workshops, courses) you want to display, and in what order.
- Enable or disable activity types from your Manager
- Drag and drop to reorder them
- Each group name will be appear as a heading in the widget
This allows you to:
- Focus on specific offerings (e.g. courses only)
- Organize different formats under clear headings
- Guide visitors to the right type of activity
📌 Activity Types Included
This widget displays the following special activities:
- Courses
- Workshops
- Retreats
- Camps
- Events
- Education
- Private sessions
If you want to show your classes and/or special activities in a calendar view, use the Schedule Widget instead.
🎨 5. Customise the Widget Design
Match the widget to your site’s branding by adjusting the color scheme:
- Text (1) – Colour of the activity group headings
- Background (2) – Full widget background
- Primary (3) – Colour for the “Load more” button and the activity type filter
- Card Text (4) – Font colour used inside the activity cards
- Card Background (5) – Background colour of the activity cards
.png?width=670&height=405&name=Activities%20-%20Color%20coding%20Desktop%20(1).png)
⚙️6. Additional Appearance Option
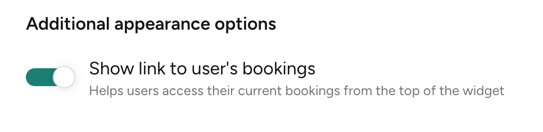
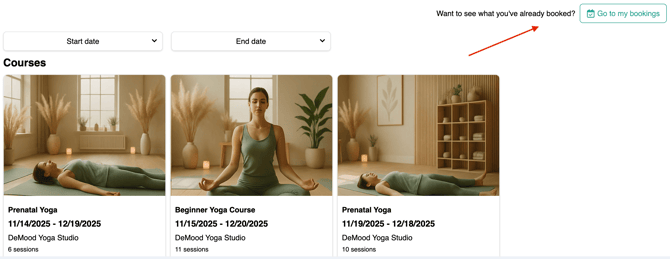
Show link to user's bookings
Adds a direct link at the top of your widget so logged-in users can easily access their current bookings
🔍 7. Preview and Save
Once you're done setting up:
- Click Save widget
- Use the Preview link to see how the widget will look on your site.
You can always come back and adjust things later in the Widget Overview.
🌐 Integration Hint
You can either embed this widget on your website or share it directly via a link - ideal for landing pages, social media, or email.
👉 Need help? Check: How to integrate the new widgets
💡 Tip: Create Targeted Widgets for Campaigns
Use separate widgets to promote:
- Seasonal events or bootcamps
- Special landing pages for beginners
- Yoga retreats or multi-day programmes
Each widget can have its own styling, filters, and placement - ideal for marketing campaigns and newsletters.