If you are still using this widget, please note:
-
Oct 1, 2025: The old widget settings page will no longer be available for any studio venue.
-
Q1 2026: The old widget will be removed entirely (except for court booking use).
We recommend transitioning to our new Widget before these dates to ensure a smooth experience. The new widget delivers an improved mobile experience by removing the iframe, enhancing usability, and providing better security for upcoming browser updates.
For the old widget:
In the menu Settings > Court Booking Widget, you can set up your booking calendar.

SETTINGS
-
Title: Give your schedule a title.
If you do not want a title, delete the title by entering a blank space.
Change booking confirmation E-Mail
-
Additional information: This will be added to the booking confirmation email
Signature: The signature will be used at the end of each booking confirmation.
LOGO
-
Upload your logo here, which will be displayed at the top left of the timetable.
-
If you work with partner studios, you can upload their partner logo and enter the link to their website. This is a great way to draw attention to other studios or sponsors. Partner logos are displayed under your timetable.
CLASS CALENDAR
-
Show general schedule: In most cases, you will have the 'Show general schedule' option activated and the calendar will show all your activities. But you can also for instance only show your classes in the general schedule via the option 'Show class calendar'. Of course, participants can still access the separate course overview at any time.
-
Decide what information should be visible on the calendar, e.g. free spots or the name of the teacher.
-
Classification of the calendar: The calendar can be divided into morning, afternoon and evening. Experience shows that this view is perceived as clearer.

Don't forget to save and changes at the end of the page!
EDIT STYLING
In case you wish to style your widget, keep reading here.
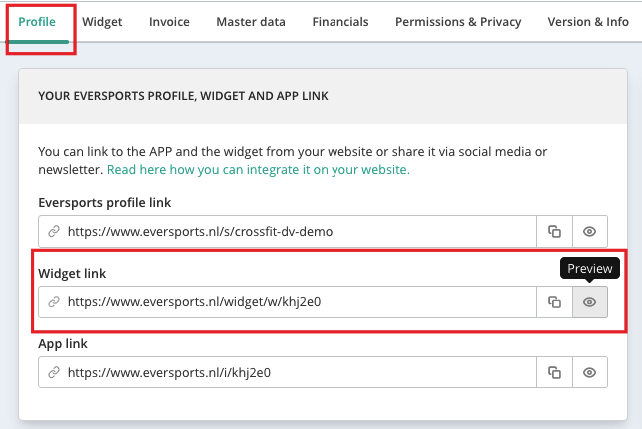
Tip: Once you are done with all the changes, check it out yourself! Go to the menu Settings > Profile > Widget and open your widget link.