
✨ Why Branding Settings Matter
Your Widget Branding Settings define how your studio or brand appears across every widget-related page your customers see.
A consistent visual style helps customers immediately recognize your studio, whether they’re booking a class, buying a membership, or logging into their profile.
With your branding set up once, you can:
- Save time — new widgets automatically use your default colors and font.
- Create trust — customers see your familiar logo and colors on every page.
- Keep consistency — all call-to-action buttons (like Book now, Buy now, or Register) use your defined brand colors.
🧑💻 Accessing Your Branding Settings

You can manage your widget branding directly in your Eversports Manager.
To open it:
- Go to Settings > Widgets [NEW].
- Click on the Widget Branding Setting button at the top of the page.
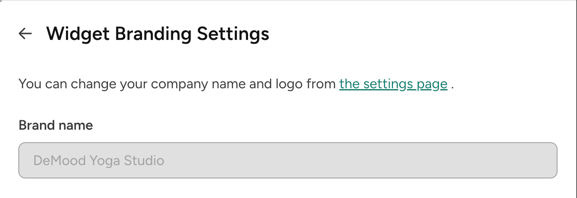
🏷️ Set Up Your Brand Name and Logo
Your brand name and logo are key elements that define how your studio appears on all widget-related pages.
They make sure your customers instantly recognize your brand, whether they’re booking a class, checking their passes, or logging in to their account.
Single-venue providers
- Your venue name and venue logo are used automatically for all widgets and related pages.
- You don’t need to add or manage these details separately in the Branding Settings, but can choose to update it and they will reflect also on your widgets.
💡 Note: If your studio is not active yet - you are in onboarding phase - we will temporarily show your company name.
Multi-venue providers

- You can define a brand name that represents your company across all venues.
- This brand name will appear in the header of:
- Sharable widgets
- Pricing and video detail pages
- User profile pages
- Login and registration pages
- This helps ensure a unified look for your brand, even when your customers interact with activities from different venues.
- Activity detail pages will always take the specific venue’s name and logo to avoid confusion with the location of the activity. E.g. Instead of showing “Empire Yoga” brand name we show “Empire Yoga - Berlin” venue name.
💡 Note: Adding a separate brand logo for multi-venue providers will be possible in a future update.
🎨 Define Your Default Colors and Fonts
Your Widget Branding Settings let you define the default colors and font that will be used across all widgets and widget-related pages.
This ensures your online experience always matches your studio’s visual identity.
Default Color Fields
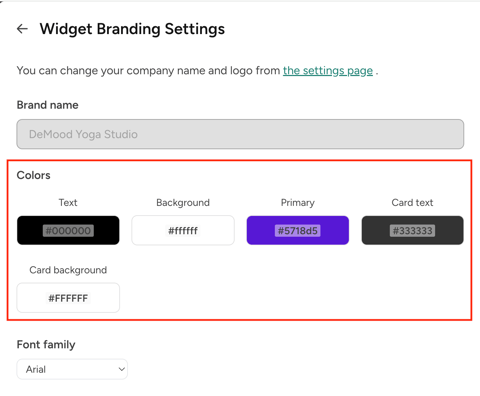
You can define five color fields in the following order:
- Text – used for all main text and headings.
- Background – defines the background of the widget.
- Primary – used for action buttons and highlights (e.g. Book now, Buy now, Log in).
- Card text – controls the text color inside activity or product cards.
- Card background – defines the background color of cards.
If you previously used old widget settings, your existing colors will be migrated automatically.
💡 Tip: Keep strong contrast between your text and background colors to maintain readability and accessibility across devices.
Font Settings

You can also define a default font for all widgets.
This font will be used for new widgets automatically, ensuring consistency across your website and widget pages.
If you’ve used custom fonts in your previous widgets, those settings will be migrated where possible.
🧩 How Branding Settings Affect Your Widgets
Once your branding settings are saved, they automatically apply to all new widgets and to key widget-related pages your customers see.
1. New Widgets
- When you create a new widget, your default colors and font are applied automatically.
- You can still customize individual widgets later, but having defaults saves time and keeps your look consistent.
2. Existing Widgets
- Updating your branding settings does not overwrite colors or fonts in existing widgets.
- This ensures that any design choices you made previously remain unchanged.
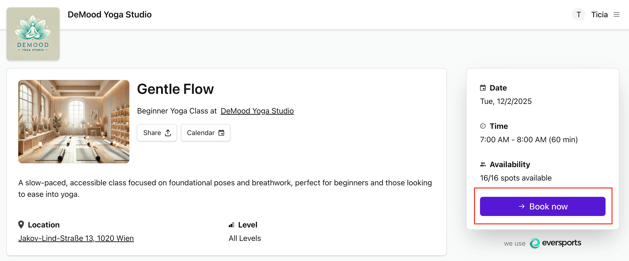
3. Buttons and Call-to-Actions
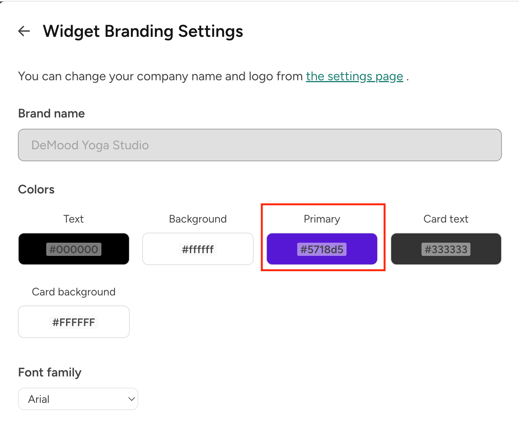
Your primary color is used across key buttons and CTAs, including:
- Buy now, Book now and Unlock now on widget detail pages
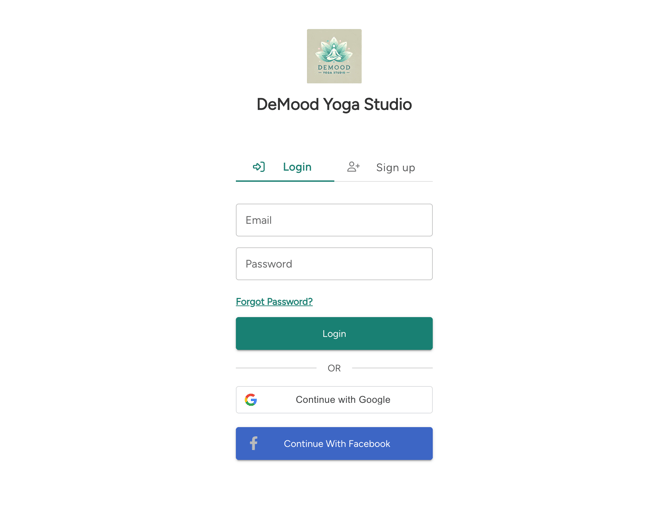
- Register and Log in buttons
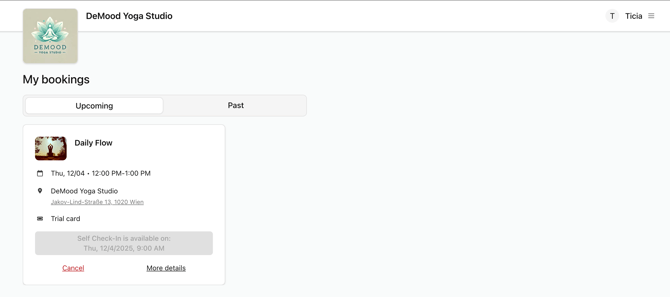
- Self-check-in option in user profiles
4. Where the Branding Appears
 |
 |
 |
 |
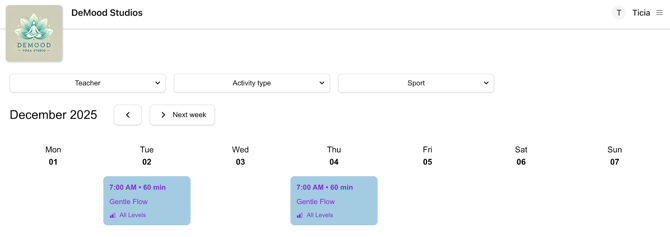
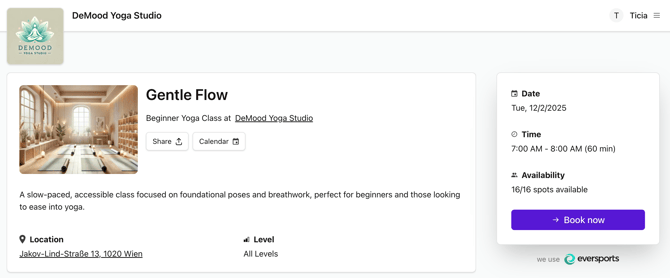
Your defined brand name and logo are shown in the header of:
- Sharable widget pages
- Activity, pricing, and video detail pages
- User profile pages (My bookings, My passes, My videos, My details)
- Login and registration pages
This ensures a consistent customer experience while navigating through various pages related to your widget.
💡 Tips for a Professional Look
A few small design choices can make a big difference in how your widgets appear to your customers.
Here are some recommendations to help you achieve a clean and consistent look across your pages:
- Use your website’s main color as your primary color – it ties your widgets visually to your website and brand.
- Keep strong color contrast – make sure text is easy to read against the background, especially on mobile.
- Stay consistent across widgets – use the same branding for all your studios or venues to create a unified online presence.
- Check your preview – use the Preview option in your Branding Settings or widget configuration to see how your changes look before publishing.
- Choose a simple, readable font – it improves usability and helps your customers focus on your content.
🔗 Related Articles
If you’d like to learn more about setting up and customizing your widgets, take a look at these related guides:
- Your Widget Strategy – Setting Up the Best Booking Experience on Your Website
- How to Integrate the New Widgets
Step-by-step instructions for embedding or linking your widgets on your website. - Customizing Your Schedule Widget
- Customizing Your Activities Widget
- Customizing Your Prices Widget
- Customizing Your Vouchers Widget
- Customizing Your Videos Widget
- Customizing Your Newsletter Widget