In the Eversports Manager, the process for creating classes and trainings is identical, differing only in name. This guide will walk you through setting up these activities, including adding sessions, defining booking rules, and sharing them with your clients.
1. Creating a Class or Training
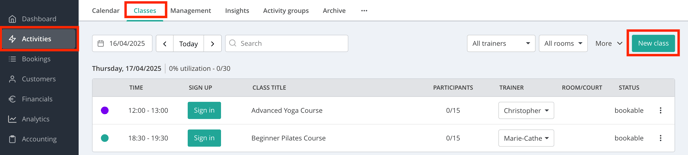
Navigate to Activities > Classes (or Trainings) and click on New Class:
1.1. Basic info
Here you can fill in all basic information
- Activity Title: Enter a clear and descriptive name.
- Description: Provide details about the activity.
- Activity Group: Assign a group to categorise the activity; this also determines its colour in the schedule.
- Sport: Choose the sport under which the activity shall be found by your customers. If this menu doesn't appear yet, you can activate it by going to Settings > Profile > Basic Information > Sports. Make sure to select at least two sports and click Save Changes in the bottom-right corner. The menu will only become visible once two or more sports are selected. Here you'll find everything you need to know about your profile settings.
- Image: Upload an image representing the activity.
Tip: At the top, you can select a template from an already existing class to pre-fill settings.
1.2. Rules
-
Under the Allowed products, you can define which products can be used to book the class or trainings and whether you want to offer a single ticket for this class. Customers will only be able to join the activity if they have one of the selected products or purchase a single ticket.
- Under the Registration rules, you can set the booking status - choose between "Online booking possible", "Published" or "Internal".
- Under Valence, you can also specify how many credits are deducted per booking. By default, 1 participation equals 1 credit.
-
Additionally, you can decide whether the activity can be booked via aggregator platforms (e.g. Classpass, USC), and whether it should be available to all customers or limited to specific customer groups.
-
Under the Cancellation rules, you define the deadline for clients to cancel and receive their credits back (default: 24 hours before the session starts). If the cancellation happens after this deadline, the credit will still be deducted. Additionally, you can enable automatic cancellation if the minimum number of participants isn't reached - affected customers will be notified automatically.
- If you have activated the video library, you can also decide whether live-streamed sessions should be recorded and made available there.
- Before adding sessions, you can save the activity as a template for future use.
1.3. Dates
Here you can add your class sessions.
Define the dates and times when your classes or training sessions will take place, and assign the relevant activity location and teacher. You can also specify the maximum number of participants allowed for this class.
Important: Make sure to set up your teachers and locations in advance under Settings > Profile > Locations for Activities
Tip: Create one group lesson per sports and add multiple sessions (dates and times) to it. You can edit, update, or delete sessions at any time. More info about editing and deleting sessions can be found here.

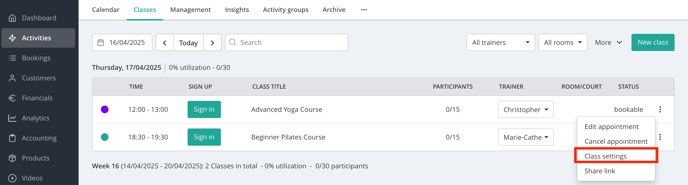
2. Editing Classes and Trainings
You can edit existing classes or trainings by navigating to:
-
Activities > Management > Edit
-
Activities > Classes - click on the 3 dots next to a given session > Class settings